Image Tool
Related Links: Image Tool - Resize | Image Tool - Crop | Image Tool - TransparentOverview | Edit Image | Logo Maker
Overview
The Image Tool allows you to modify existing images and to create your own logo.
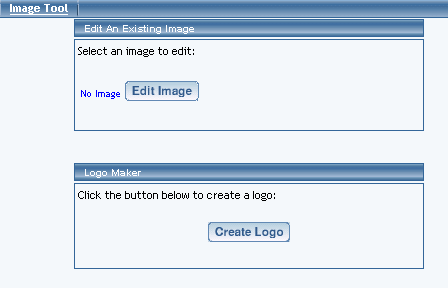
Edit An Existing Image
Click on the blue text "No Image" to select an image file to edit.
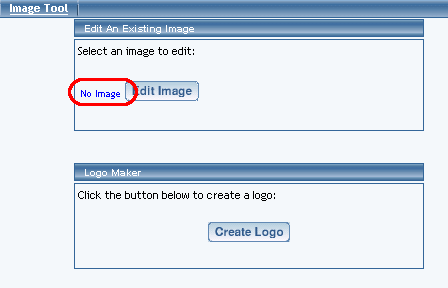
A new window will open up that will allow you to select an image from your Web site, select an image from our image library, select an image from a website, or to upload your own image file. Please keep in mind that using the Image Tool to modify your images requires you to have the latest Java plug-in for your Internet browser. Once you have found an image to edit, click on the button "Use" next to a preview of the image.

Once your image has been selected, click on the button "Edit Image" to modify your image file.
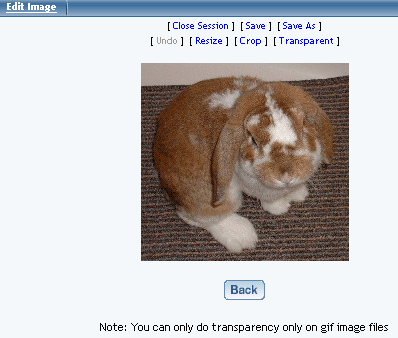
Close Session - this option will close the current editing session with your selected image. The Image Tool intelligently remembers whether you opened an image and did not finish editing.
Save - this option will save the work you have done to the image to the same filename.
Save As - this option will save the work you have done to the image as a different filename.
Undo - this option will only be available if the Image Tool recognizes that you have performed an action. You will be able to undo all of your actions as long as the editing session remains open.
Resize - this action allows you to resize the image.
Crop - this action allows you to specify a rectangular section of the image as your new image.
Transparent - this action allows you to make certain colors of an image transparent. You may only apply transparency on gif image files.
The Back button will return you to the main menu of the Image Tool.
Back to the Top of the Page
Logo Maker
The Logo Maker allows you to create a text logo for your Web site.
From the Administration home page, click on the blue text of your sitename to get to the Web site Editor home page. Click on the secondary navigation menu link "Tool Box". Click on the blue text "Image Tool". Click on the button "Create Image" to create your own text logo.
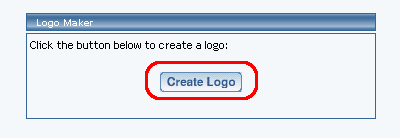
You will then see the following screen:
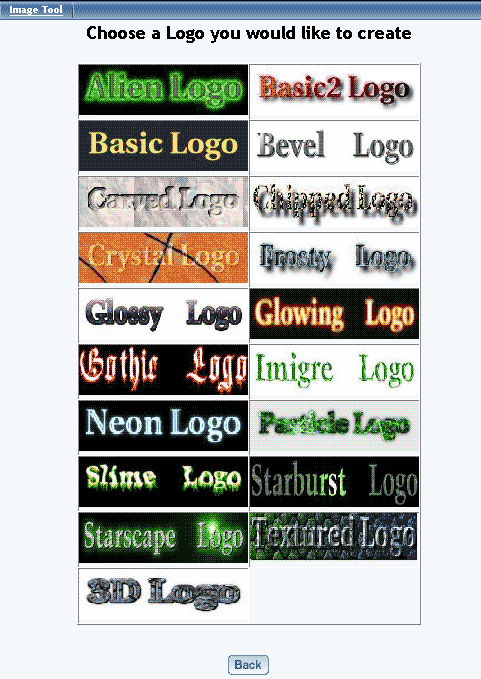
Click on one of the sample images that shows the best style that you would like to have for your text logo.
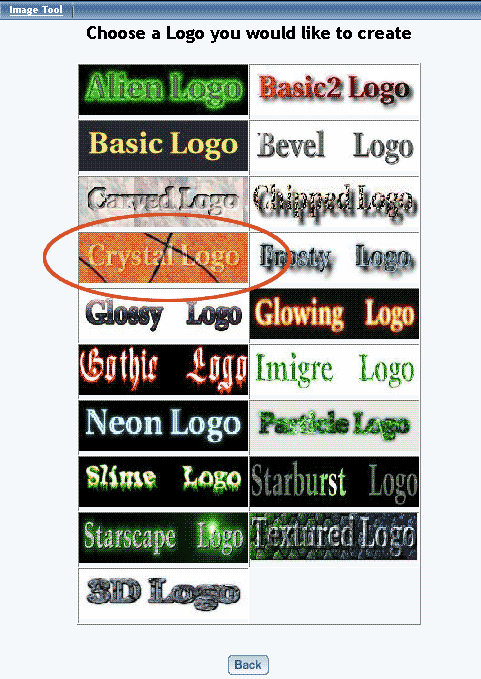
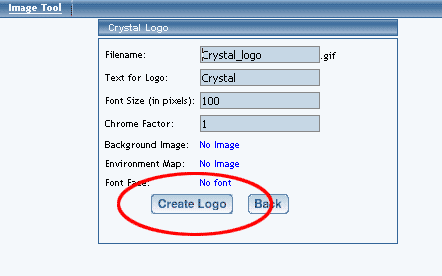
Depending on which logo style that you have chosen, you will have a different set of options. For example, if you click on Crystal Logo, you will get the following:
-
Filename - specify the filename of the image.
Text for Logo - specify the text that will appear as your logo. Please be advised that the amount of text that you may put in will be limited by the Font Size that you have specified.
Font Size (in pixels) - specify the size of the text that will appear as your logo in pixel dimensions.
Font Face - specify the font face for the text that will appear as your logo.
Font Color - specify the font color for the text that will appear as your logo.
Background Color - specify the background color of the logo. other options - depending on which style that you choose, you will have other options that will pertain to that style choice.
After you click on the button "Create Logo", the Image Tool will report to you:
"Your logo has been queued up for creation
It will be put into your images directory"

After a couple of minutes, the image will be placed in to your images directory. Once the file has been placed there, you can add the logo to a page as an image component.